Home Server - This article is part of a series.

Strap in, this is a long one.#
When I was 15, I built myself my first gaming computer. At the time, it had great hardware. An almost top of the line GTX 1070, an i7-6700k, and 32 GB of ram. What more could a kid in high school ask for? It was able to handle modern gaming demands for about 7 years before the cracks started to show, so I had to upgrade. When I did that, I was left with the old chassis, hard drives, CPU, and a few other miscellaneous components. I did not have a plan what to do with it, so the components sat in a closet for a few years.
Some time later, in my community college education, I was introduced to the idea of self-hosted services. The idea of having your own server where photos are accessible to the internet, your own custom home automation server, a server for your camera recordings to live, a recipe hosting website; the possibilities were endless. This realization occured around the time that I was learning about virtualization, and my love for a home server was born!
Of course, it took some time until I had created the first iteration. My intital steps were not virtualized, memory hogs, and not well configured. I did have a working setup though. Eventually, the upkeep of the already deprecated software became too much for me (along with data loss concerns!) and so I shut the project down.
In 2024, I purchased a Dell Optiplex 3050. It was formerly a corporate thin client. The reason I chose this computer for my home hosting is because I wanted something small, quiet, and with minimal energy drain. Since measuring (while idling), I have recorded approximately a 5w power draw from the wall. Not bad! One of the first things I did after I bought the computer was upgrad both the memory and storage capacity. Next, I installed proxmox, a type 2 hypervisor. That process that had many bumps along the road. While setup guides did exist, I had modifications I wanted to make and still a rudimentary understanding of SSL certs, Linux networking, when to use an LXC container vs a VM, et cetera.
The learning curve to create this tech stack was quite steep, but eventually the day finally arrived that I told myself I would sit down and finish setting up my server. I had been having persistent issues with getting access for a few days before school took over and I had to put it on the back burner. The first issue was that I was not able to access the web-based GUI to create any virtual machines. For this, I first changed from a wireless connection for the server to a wired connection. That did not resolve my issue, so I assumed there was an issue with the IP distribution. To fix this, I went into the /etc/network/interfaces file. It took me a while to understand what the function was of the vmbr0 adapter, which is to create a bridge for the VMs to connect to. It took even longer and more trial and error before I had the ports set up correctly as you can see by my hastily commented lines below.
I do not have a “before” version, but this is what it looks like after a result of my tinkering:
iface lo inet loopback

#iface wlp2s0 inet manual

auto enp1s0
iface enp1s0 inet manual
#       address 192.168.1.56
#       gateway 192.168.1.1

auto vmbr0
iface vmbr0 inet static
        address 192.168.1.57
        gateway 192.168.1.1
        bridge-ports enp1s0
        bridge-stp off
        bridge-fd 0

source /etc/network/interfaces.d/*
This helped me confirm layer 3 access to the server by using ping, but I still had the issue of actually getting to the management portal.
After some time reading online about it, I saw some forum discussions mentioning that it might have been an issue with the certificates. I doubted that, as I wasn’t able to get access over HTTP, but at that time, I had tried a lot of potential solutions and I figured it wouldn’t hurt. So I ran the following commands:
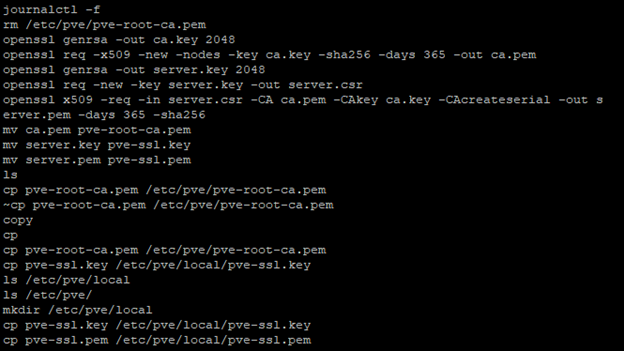
The portal still wasn’t accessible. To verify the port was open, I used the command ss -ln, which returns some pretty ugly output:
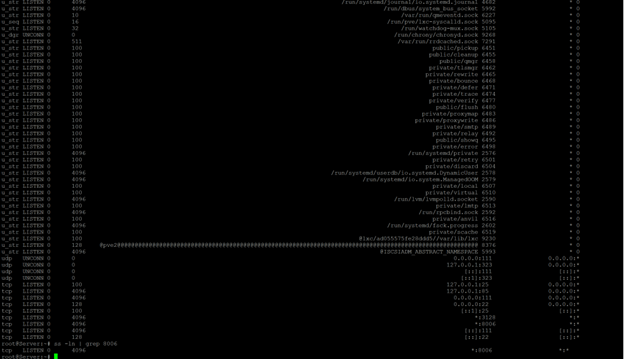
So, I used grep to filter for the numbers 8006 to verify that it was actually open and listening for traffic. I thought that was strange, and that I should be able to see the management portal..? So I ran systemctl to see what the status was and got back this:
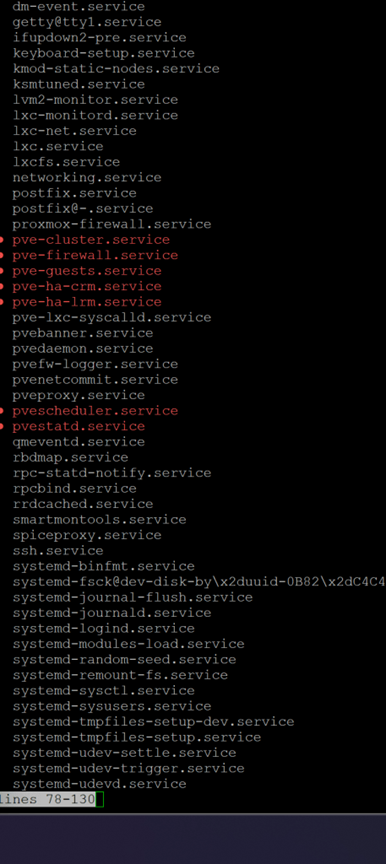
Obviously, something was wrong with the parent pve-cluster service on the host. So I shut it down and used journalctl to find out what was wrong. I found out after some extensive googling, forum reading, and poring over the documentation (this is a case of RTFM) that if there were any files existing at /etc/pve, the service would fail to start because the virtual file system could not be mounted. So I ran the following commands:
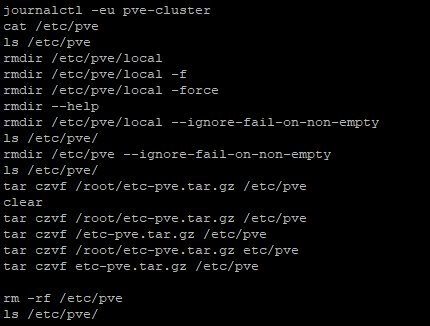
Lo and behold, I was able to start the service and access the web interface. This was an excellent way to get familar with the virtual networking systems used in proxmox, as well as the linux filesystem and general command line usage. Now, onto the fun parts: hosting virtual services!
Well, I’ve officially caught the mini rack bug. You might be wondering, what is a mini rack?
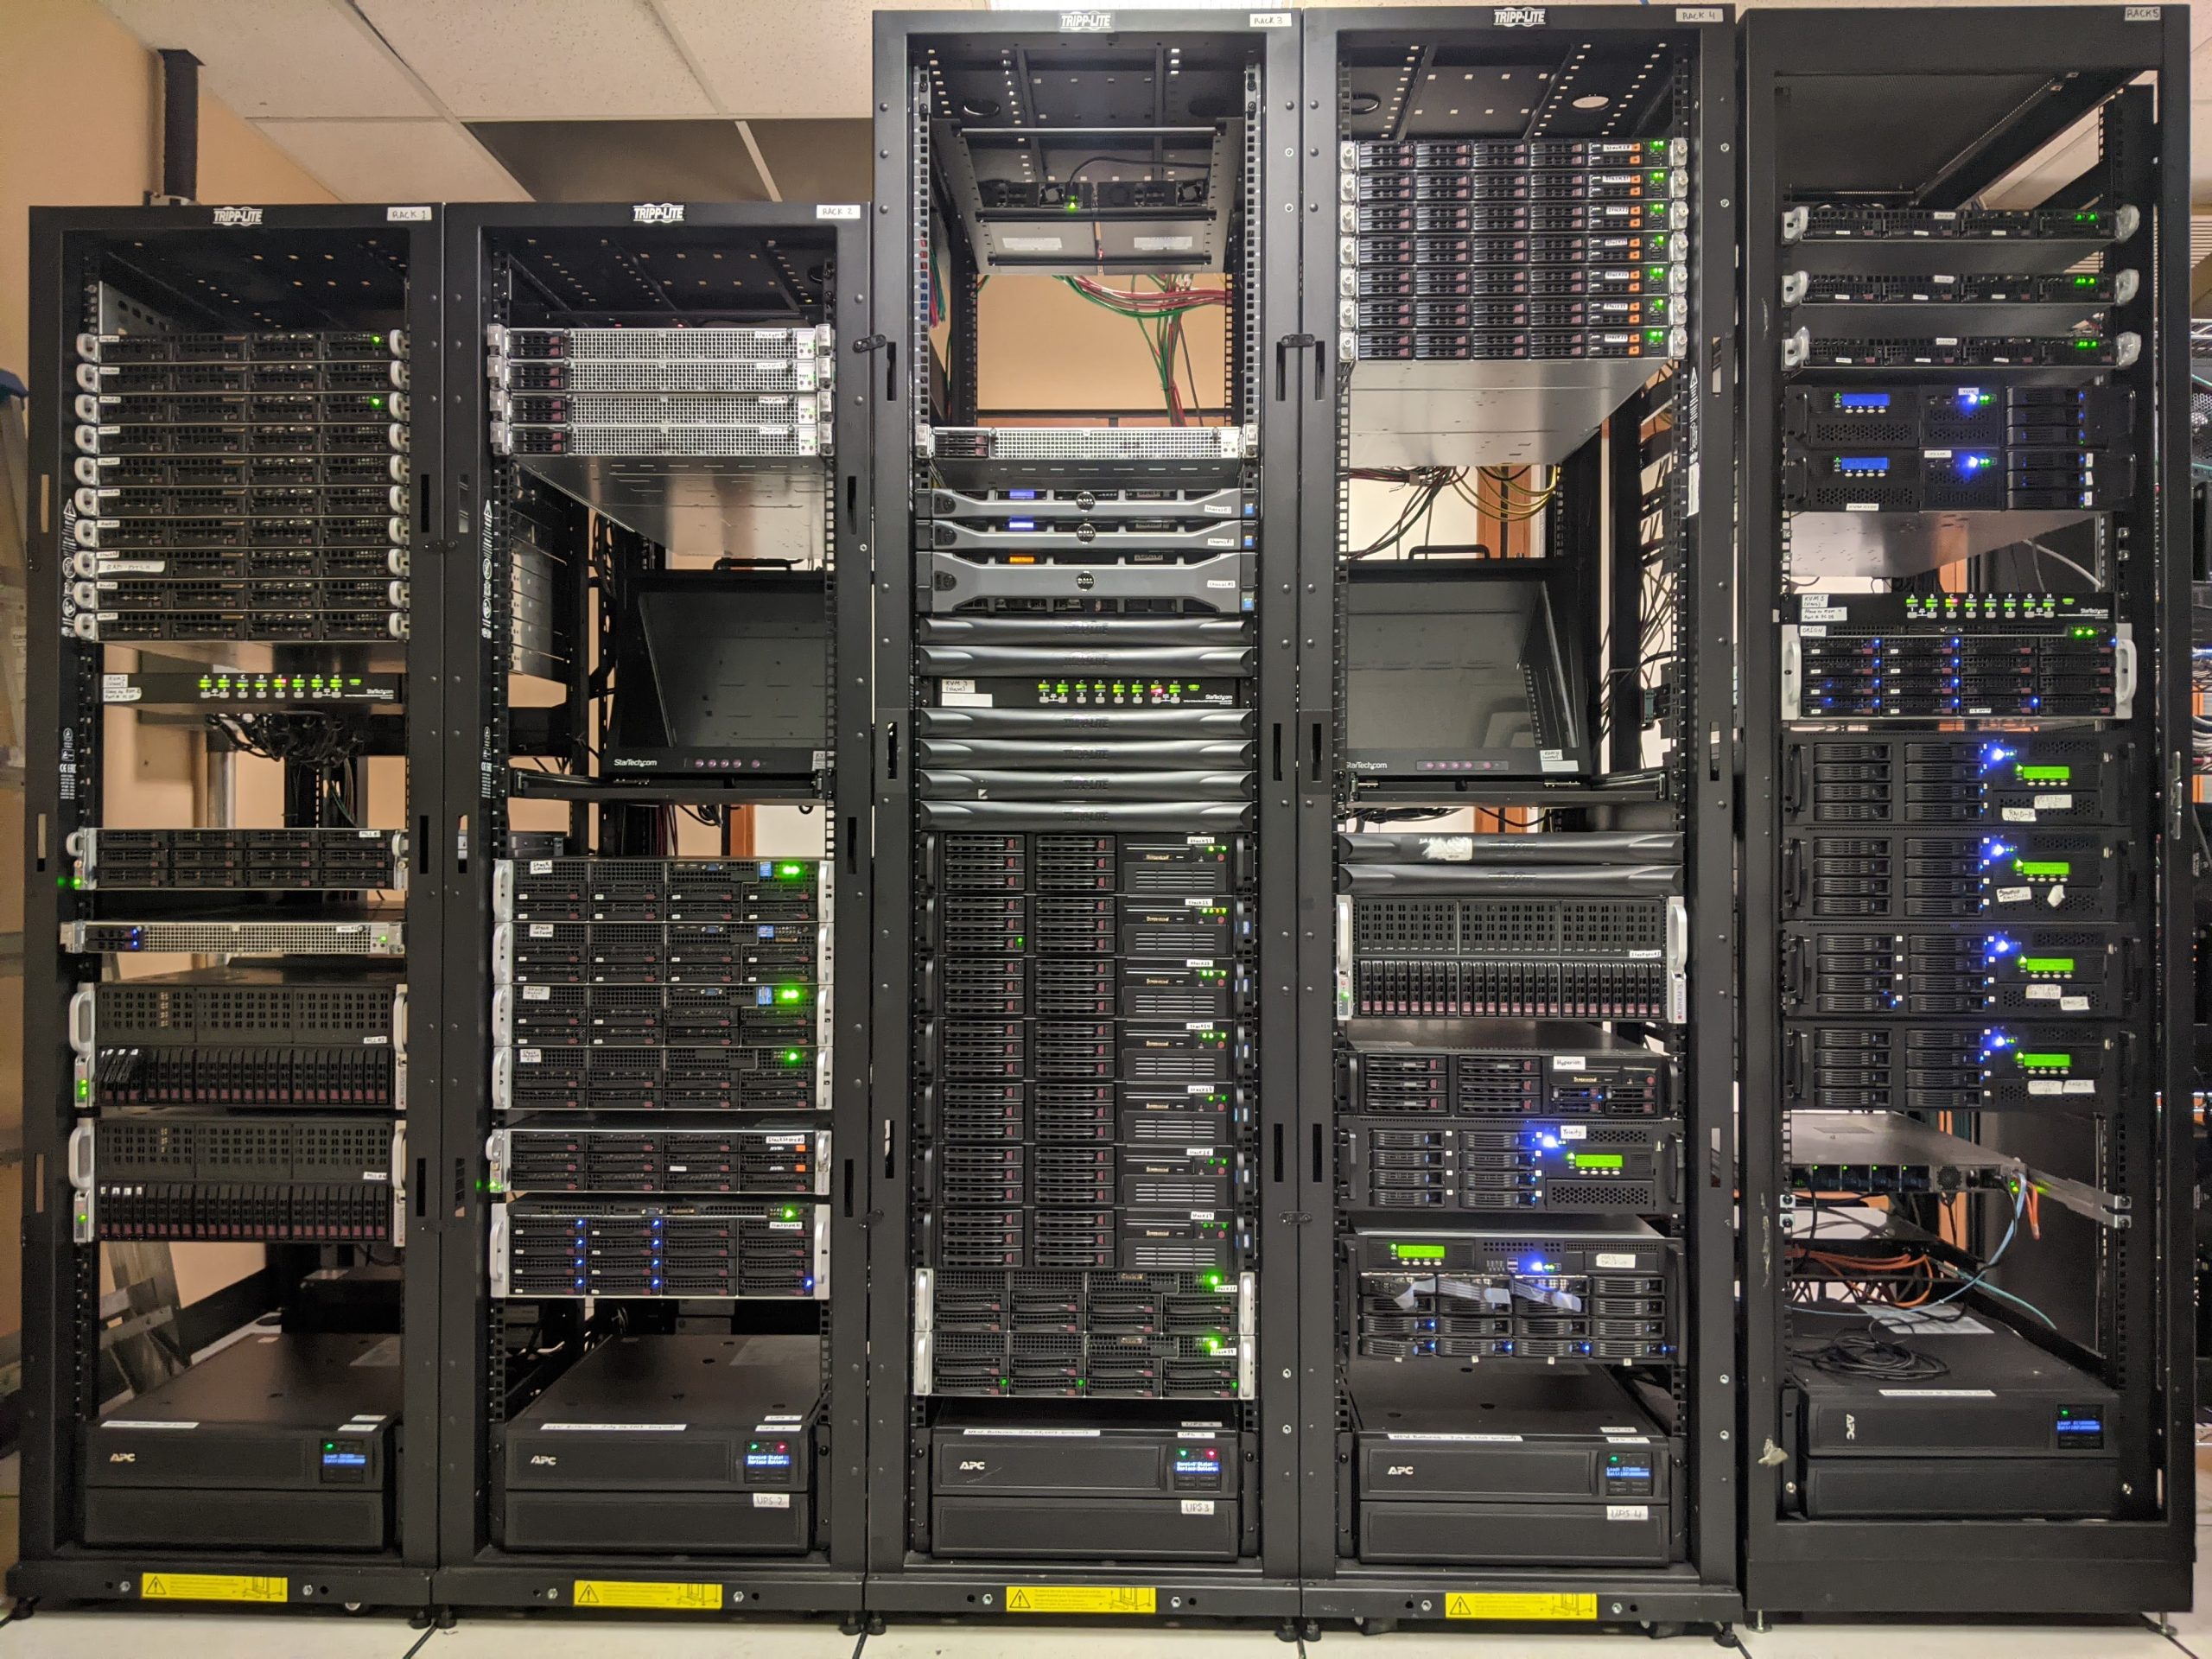
A mini lab is a miniaturized version of what most people think of when they picture a server. An example of both is shown below.
This is what I’m planning on making!#
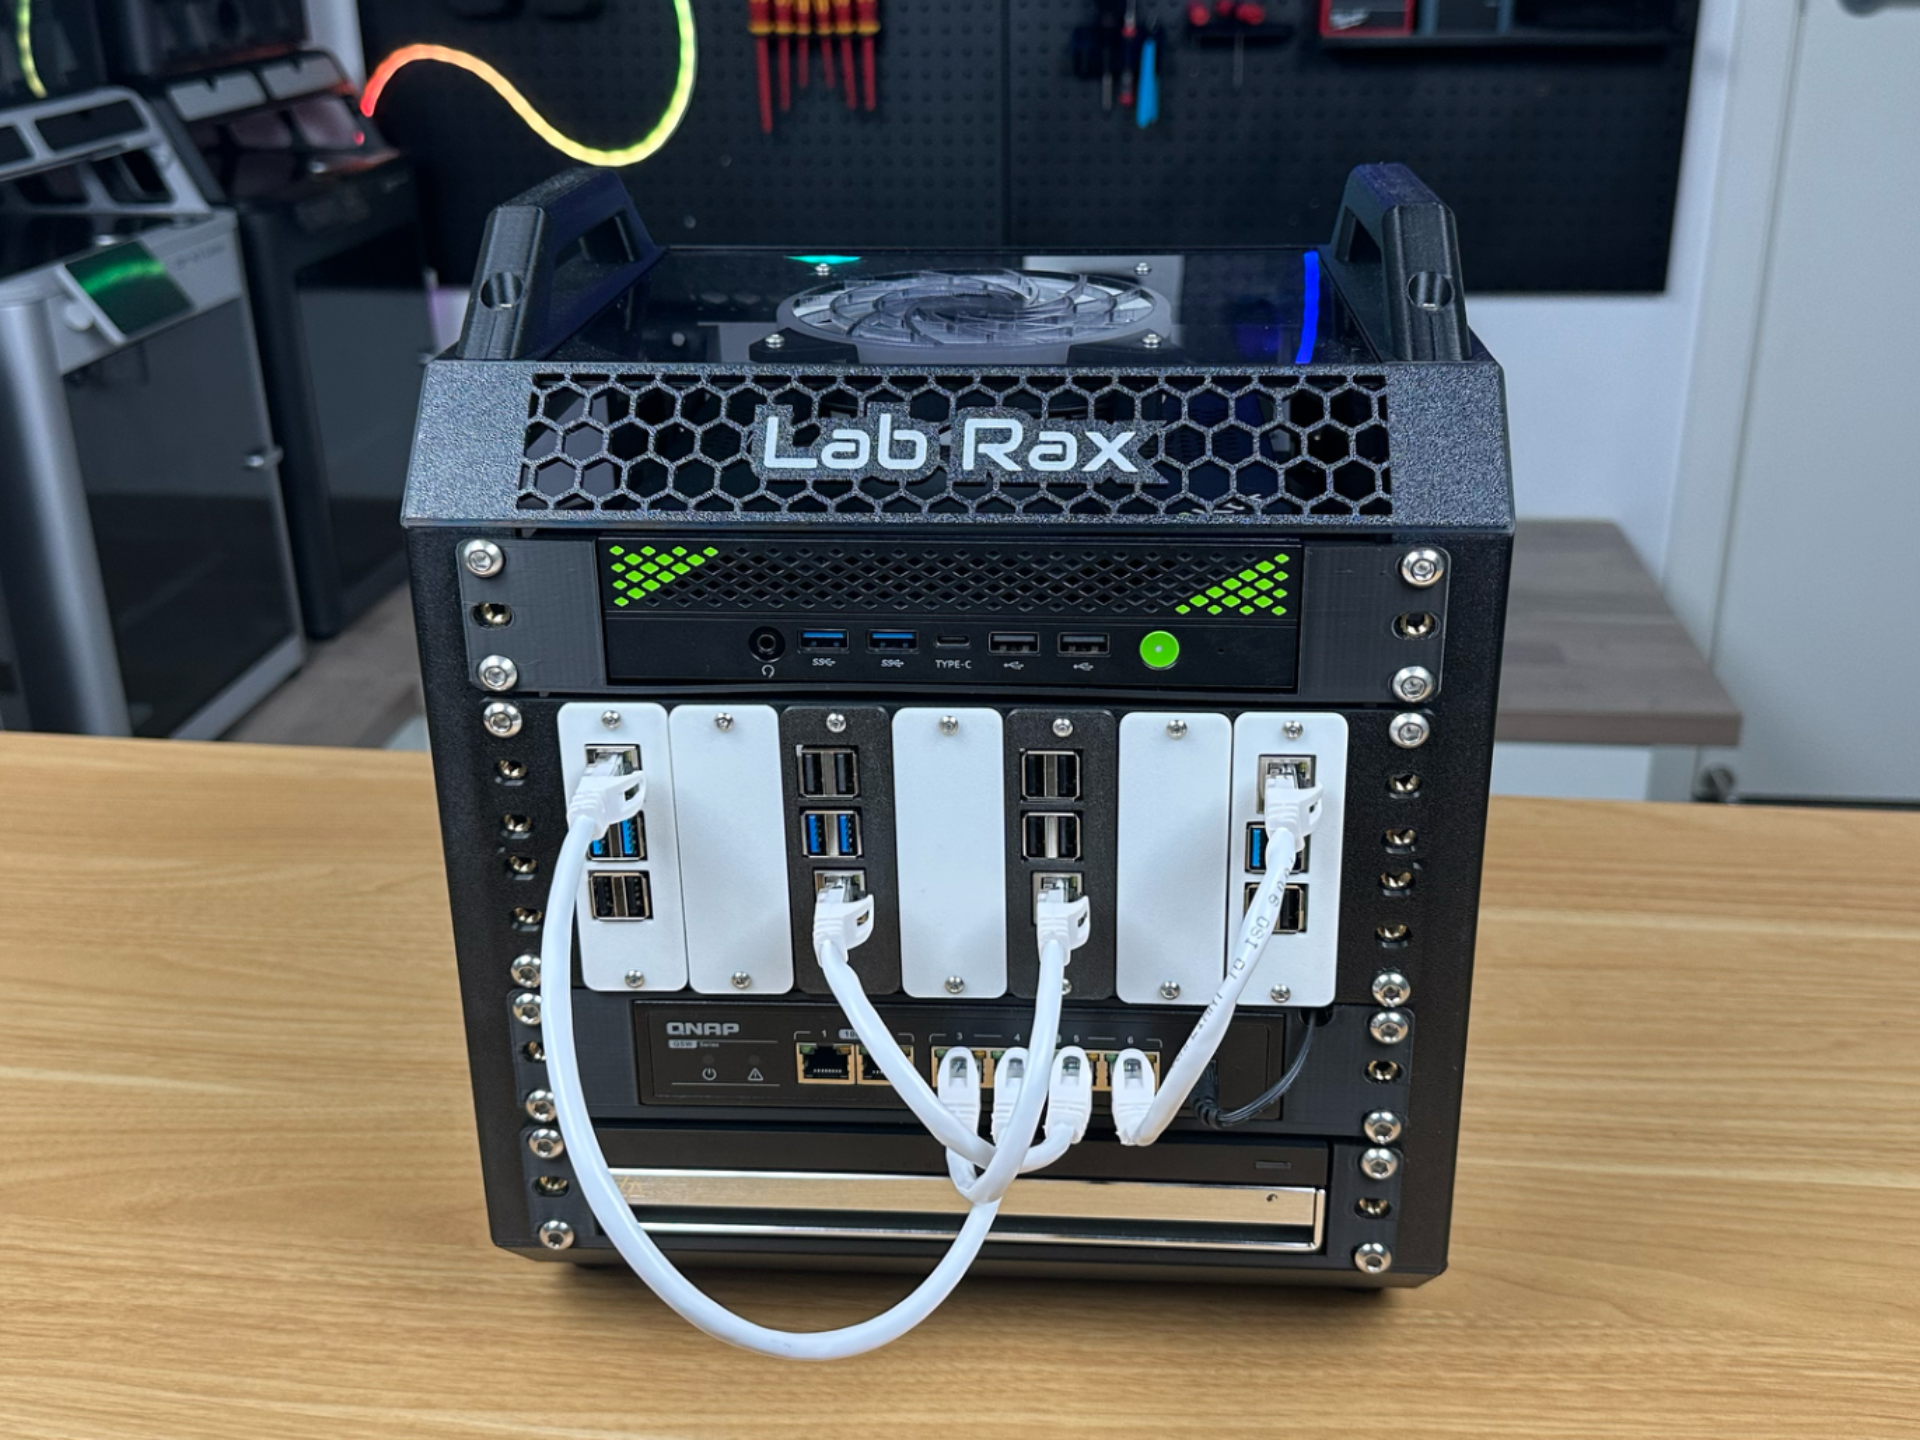
I’ve never 3D printed before, but my younger brother just gifted me his old Creality Ender 3 Pro, so I’ll be using that (if I can figure out how to cut the longer pieces of the frame to fit on the bed.) This should be printed out of PETG for the heat resistance, so I also want to figure out some kind of enclosure and air purifiaction solution for the VOCs before I print. The reason why I want to 3D print it is both for cost and for the learning experience. I am going with a 10 inch rack because it fits the components I have better than a 19 inch one.
One of the challenges I am having is that my homelab doesn’t have any more SATA ports or PCIE slots, so I’m not sure how I’ll be able to add more drive capactiy to it. I really wanted to do a drive caddy like this: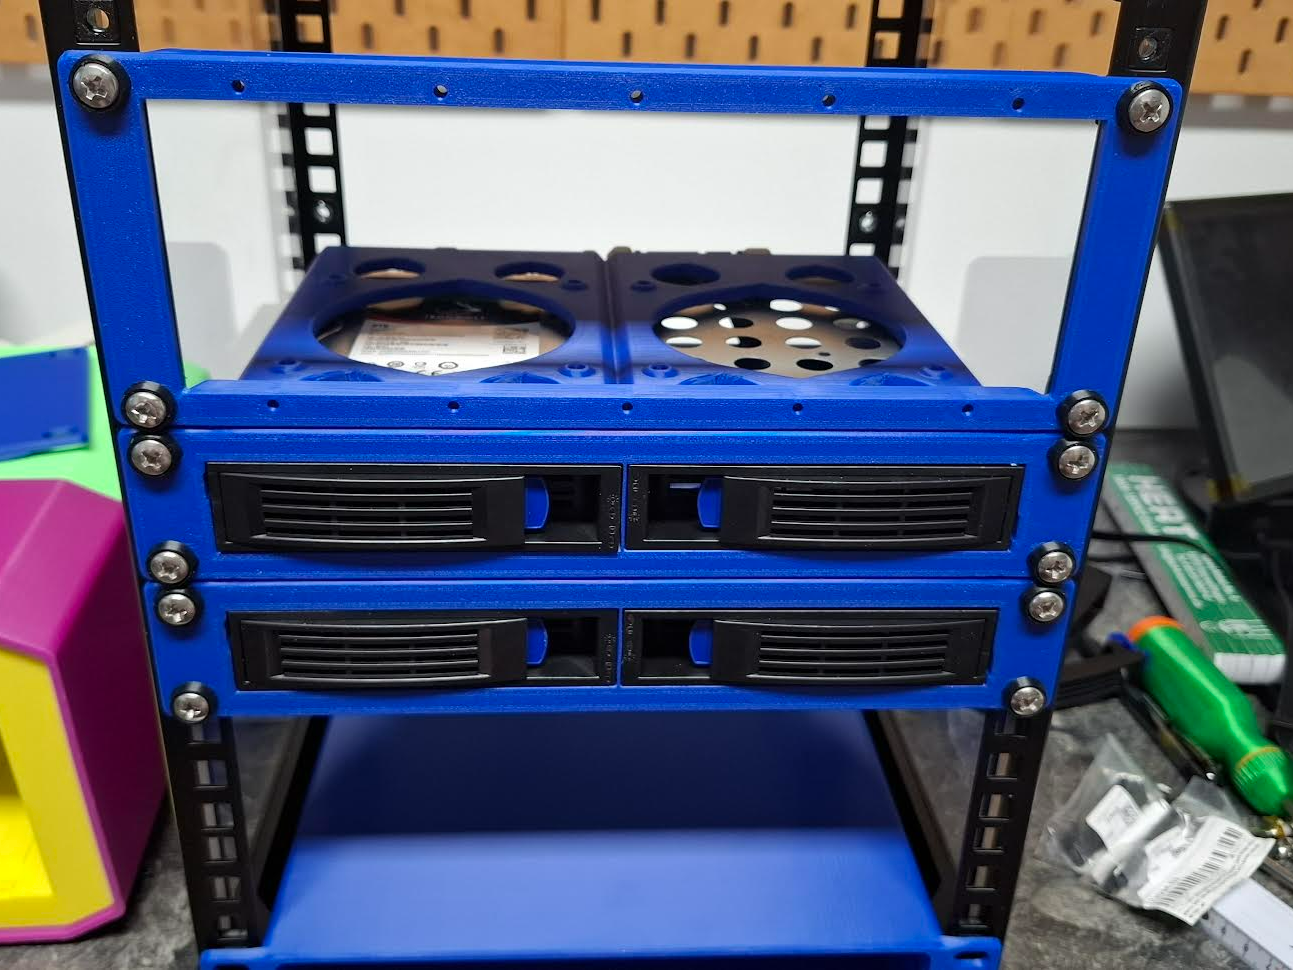
Some other components I am considering buying/printing:
More to come on this page soon!